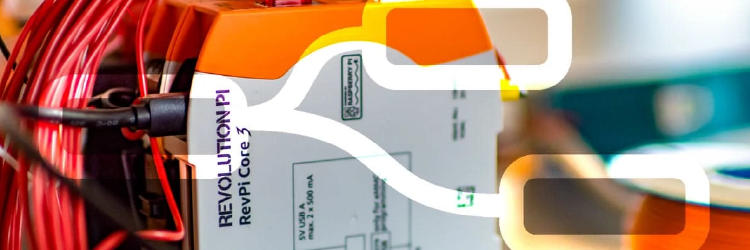
The Revolution Pi from Kunbus was launched in 2016 as the first truly industrial-grade Raspberry Pi with an IP20 protection class. From now on, every new Revolution Pi will be delivered directly with pre-installed RevPi nodes.
Revolution Pi - The all-rounder
It is a fully-fledged industrial PC and performs control and communication tasks in the industrial IoT sector: The Revolution Pi is an open source IPC that can be used with I/O modules and fieldbus gateways to connect to an industrial network.
The modular and comparatively inexpensive industrial PC is housed in a slimline top-hat rail housing. Currently, the base modules Revolution Pi Connect/Connect+ are available as IIoT gateways and Revolution Pi Core/Core 3/Core 3+ as open source IPC, which can be expanded as required with various analog IO, DIO, Con expansion modules and various gateways such as EtherNet, PowerLink and Profinet.
Thanks to its flexibility, it can be used for many areas of application and is therefore a perfect tool for individual implementations in industrial IoT and automation projects.
Node-RED RevPi nodes now pre-installed
Together with Kunbus, we have now developed the RevPi Nodes for the Revolution Pi, with which the platform can be addressed seamlessly and easily. This allows you to graphically control and map your Industrial IoT environment.
The RevPi nodes are now pre-installed on every new Revolution Pi and every module provided by Kunbus via PiCtory. They can therefore be used immediately after purchase.
Of course, the Official Revolution Pi Nodes can also be used on older RevPis. We have explained what you need to bear in mind in two video tutorials here. If you want to update many Revolution Pis with the RevPi nodes, you can use our erPLOY tool.
RevPi Nodes Quick Start Guide
Step-by-step guide: First steps for an easy start with the Node-RED RevPi Nodes on the Revolution Pi.
In the first step, open the -> RevPi web status.
Now you can get started: The RevPi Nodes on the Revolution Pi give you a quick introduction to the world of soft PLCs. You can find more information and video tutorials in our article Node-RED and the RevPi Nodes: For small solutions and rapid prototyping. If you have any questions about the RevPi nodes, please contact our RevPi node support in the German or English RevPi-Nodes forum at Kunbus.


